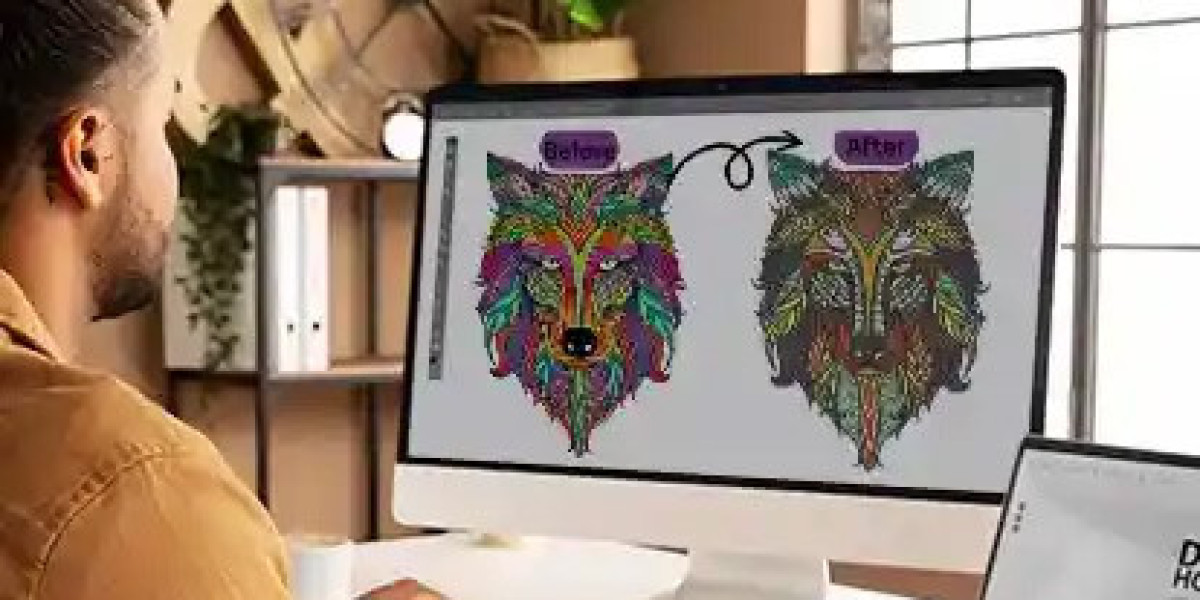
You have a fantastic idea. Maybe it's a quirky inside joke for a friend's birthday, a simple logo for your small business, or a custom design for your child's team. You've sketched it out, or perhaps you've already created a crisp JPEG image on your computer. You can already see it perfectly embroidered on a jacket, a hat, or a bag. But then you hit the wall of reality: your embroidery machine can't read that JPEG. It speaks a different language, a language of stitches and commands. This is where the magic happens. This is where a PES File Converter comes into play, acting as the essential translator between your creative vision and the physical thread.
This journey from a flat, pixel-based image to a textured, stitched masterpiece might seem like complex sorcery, but it's a fascinating process that blends art and technology. Let's pull back the curtain and explore how this conversion works, why it's not as simple as clicking "save as," and how you can get the best results for your projects.
What Exactly Are You Converting? Understanding JPEG vs. PES
First, we need to understand the two very different languages we're dealing with.
A JPEG (or JPG) is a raster image file. Think of it as a digital mosaic. It's made up of millions of tiny, colored squares called pixels. Your computer screen or printer looks at this grid of pixels and knows what color to display in each spot to form the complete picture. The format is great for photographs and complex color gradients, but it has no concept of "thread," "stitches," or "sequence." It's just a flat, visual map.
A PES file, on the other hand, is an embroidery design file. It's the native format for Brother embroidery machines (and widely compatible with many others). A PES file isn't a picture; it's a set of intricate instructions—a recipe for your embroidery machine. It tells the machine:
Where to move the needle: Every single stitch has a start and end point.
What type of stitch to use: Should it be a solid satin stitch for text, a fill stitch for large areas, or a running stitch for fine details?
What order to sew in: The sequence is critical to prevent jumps over already-stitched areas and to build the design logically.
When to change colors: It signals the machine to pause so you can manually switch to the next thread color.
How to adjust for tension and pull: It compensates for how the fabric might shift or pucker during sewing.
So, converting a JPEG to PES isn't a simple file format change like converting a Word document to a PDF. It's a complete translation from a visual guide into a set of mechanical commands. This translation process is called digitizing.
The "Converter" in PES File Converter: Is It Automatic or Manual?
When you search for a "PES file converter," you typically find two types of solutions: automated software and professional digitizing services. Understanding the difference is key to getting a result you're happy with.
1. The Fully Automated Route (The "One-Click" Solution)
Several software programs and online tools promise an instant conversion. You upload your JPEG, select PES as the output, and download a file within minutes. This sounds ideal, but it's where the limitations become apparent.
How it works: The software uses algorithms to trace the outlines of your JPEG. It then makes automated decisions about stitch type, direction, and density. It essentially tries its best to guess how the design should be stitched.
The Pros:
Speed and Cost: It's incredibly fast and often very cheap or free.
Convenience: It requires no technical skill or knowledge of digitizing.
The Cons:
Lack of Intelligence: The software doesn't understand the context of your image. It might use a fill stitch on tiny text, turning it into an unreadable blob. It doesn't know how to properly layer colors or create a logical stitch sequence.
Poor Stitch Quality: Automated conversions often result in excessive stitches, causing fabric puckering, or too few stitches, creating patchy coverage. The stitch direction might be random and unappealing.
High Risk of Errors: The file may contain countless unnecessary "trims" and "jumps," leading to a slow, inefficient embroidery process with frequent thread breaks.
These automated tools can work for the absolute simplest of shapes (think of a solid heart or a star), but for any logo with text or detail, the results are usually disappointing.
2. The Professional Digitizing Route (The "Expert Translator")
This is the true "magic" behind high-quality embroidery. When you hire a professional digitizing service, you're not using an automated converter; you're hiring a skilled artist who uses specialized software to manually create your PES file.
How it works: A human digitizer analyzes your JPEG. They interpret the design, making conscious, artistic decisions at every step. They will:
Simplify and Clean Up: They redraw elements to be stitch-friendly, often simplifying complex gradients into clean color blocks.
Assign Stitch Types: They strategically decide where to use satin, fill, and running stitches for the best visual and textural effect.
Set a Logical Sequence: They map out the order of sewing to minimize jumps and ensure stability, often stitching underlay first to anchor the fabric.
Optimize for the Fabric: They adjust settings like density and pull compensation based on whether the design will be stitched on a cap, a fleece jacket, or a delicate t-shirt.
This process results in a clean, efficient, and beautiful PES file that your embroidery machine will love to run.
How to Get the Best PES File from Your JPEG
So, you want to take your JPEG to a finished, embroidered piece. Here’s your practical roadmap to success:
Step 1: Start with the Best Possible JPEG
You can't create a silk purse from a sow's ear. Give your converter—whether human or software—the best chance to succeed.
Use High Resolution: A large, clear image is easier to work with than a small, pixelated one.
Simple is Better: Designs with clear boundaries, distinct colors, and minimal tiny details convert best.
Vector is King (If You Have It): If you have the original vector file (AI, EPS, SVG), provide that instead of a JPEG. Vectors are made of paths, not pixels, and are infinitely easier for a digitizer to work with.
Step 2: Choose Your Conversion Method Wisely
For ultra-simple, non-critical designs: You can try an automated converter. Manage your expectations and always do a test stitch on scrap fabric first.
For logos, text, or any design where quality matters: Invest in professional digitizing. The cost is reasonable and it saves you from wasted time, ruined garments, and subpar results.
Step 3: Provide Clear Instructions
When you send your JPEG to a digitizer, tell them:
The Final Size: In inches or centimeters.
The Garment Type: Is it for a tough canvas bag or a stretchy polo shirt?
Any Specific Requests: "Please make the text read clearly," or "You can simplify these color gradients."
Step 4: Always, Always Stitch a Test Run
Before you load up that expensive jacket, stitch the PES file out on a similar piece of scrap fabric. This allows you to check for any issues with tension, density, or registration. A good digitizing service will offer free minor revisions if something isn't quite right.
Conclusion: Unlocking a World of Creative Possibilities
The journey from a JPEG on your screen to a custom-embroidered jacket is an empowering process. The humble PES file is the key that unlocks your embroidery machine's potential, transforming it from a simple tool into a gateway for personal expression and professional branding.
While the term "PES File Converter" might suggest a quick, automated fix, the true magic lies in the skilled, thoughtful process of digitizing. By understanding this distinction and choosing the right path for your project, you can ensure that your creative vision is translated not just into stitches, but into a durable, high-quality piece of art you'll be proud to wear or share. So go ahead, find that perfect JPEG—your embroidery machine is waiting for its instructions.