A beautiful tile installation can transform a space. It adds character, durability, and value to your Lakewood home. But a poor installation? That leads to a host of headaches: cracked tiles, crumbling grout, uneven surfaces, and water damage that can lurk unseen for years. The difference between a tile floor that lasts for decades and one that fails in a few years often comes down to the techniques and preparation hidden beneath the surface. This is the wisdom that professional installers carry with them. By understanding their process, you can ensure your investment stands the test of time, whether it's handling the freeze-thaw cycles unique to Colorado or the daily wear and tear of a busy household. Here are the key insights from experienced professionals specializing in tile installation Lakewood, CO homeowners trust.
The Make-or-Break Foundation: Subfloor Preparation
Ask any seasoned installer what the most critical part of the job is, and you’ll likely get the same answer: the foundation. A beautiful tile is only as stable as what lies beneath it. Skipping or rushing this step is the number one reason for failed installations.
Why a "Solid as a Rock" Subfloor is Non-Negotiable
Tile and grout are not flexible. Any movement in the subfloor—whether it's from bouncing, shifting, or warping—will be transferred directly into the rigid tile surface. The result? Cracked tiles and fractured grout lines.
Professional installers start by assessing the subfloor, which is typically made of plywood or oriented strand board (OSB). They check for any soft spots, water damage, or loose screws/nails. A key tool in their arsenal is a decoupling membrane. This is a thin, sheet-like layer that gets installed between the subfloor and the tile. Its job is to absorb and isolate minor movements in the subfloor, preventing them from stressing the tile. In areas with high moisture, like bathrooms, a waterproofing membrane is also crucial to protect the underlying structure from any water that finds its way through the grout.
Ensuring a Perfectly Level and Flat Surface
A common misconception is that leveling the floor is only for aesthetics. It’s fundamentally about structural integrity. If a tile is laid over a dip or a hump in the subfloor, it isn't fully supported. This creates a void beneath it, making it a prime candidate for cracking under pressure—like when a heavy appliance is moved or someone drops a cast-iron skillet.
Pros will use long levels and straightedges to identify high and low spots. They then use a self-leveling underlayment to pour a new, perfectly flat surface, or they grind down high spots. This meticulous preparation ensures that every tile has 100% support from below, which is essential for long-term durability, especially with large-format tiles that are popular today.
The Art of Material Selection and Layout
The right choices in materials and planning prevent problems before the first tile is even set. This is where an installer’s expertise guides you toward a result that is both beautiful and built to last.
Choosing the Right Mortar for the Job
Not all mortars are created equal. Using the wrong type is a recipe for failure. A skilled tile installer Lakewood, Colorado relies on will select a mortar based on the tile and the location.
- For large-format tiles (any tile with one side longer than 15 inches), a medium-bed mortar is essential. This mortar has a thicker consistency that prevents the heavy tiles from sagging before the mortar sets, ensuring they stay perfectly level.
- For wet areas like showers, a polymer-modified, thinset mortar is used. These additives improve flexibility and bond strength, creating a more waterproof and durable installation.
- For different surfaces, such as tiling over existing tile or a heated floor system, specific mortars are required to ensure a proper bond.
The Critical Role of Layout and Planning
A professional never starts tiling from a corner and hopes for the best. They begin with a "dry layout," placing tiles without mortar to plan the entire floor or wall. This allows them to find the most visually pleasing and structurally sound starting point.
The goal is to avoid narrow, sliver cuts of tile at the edges of the room or in highly visible areas. These small pieces are weak and can break easily. By shifting the entire grid, the installer can ensure the largest, most uniform tiles are in the most prominent spots, with any necessary cuts tucked away in less noticeable areas. They also use tile spacers consistently to maintain uniform grout lines, which is crucial for both the appearance and the structural flexibility of the entire installation.
Precision in Installation and Finishing
This is where preparation meets practice. The techniques used during the actual installation are what lock in the long-term performance of your tile.
Achieving Complete Coverage
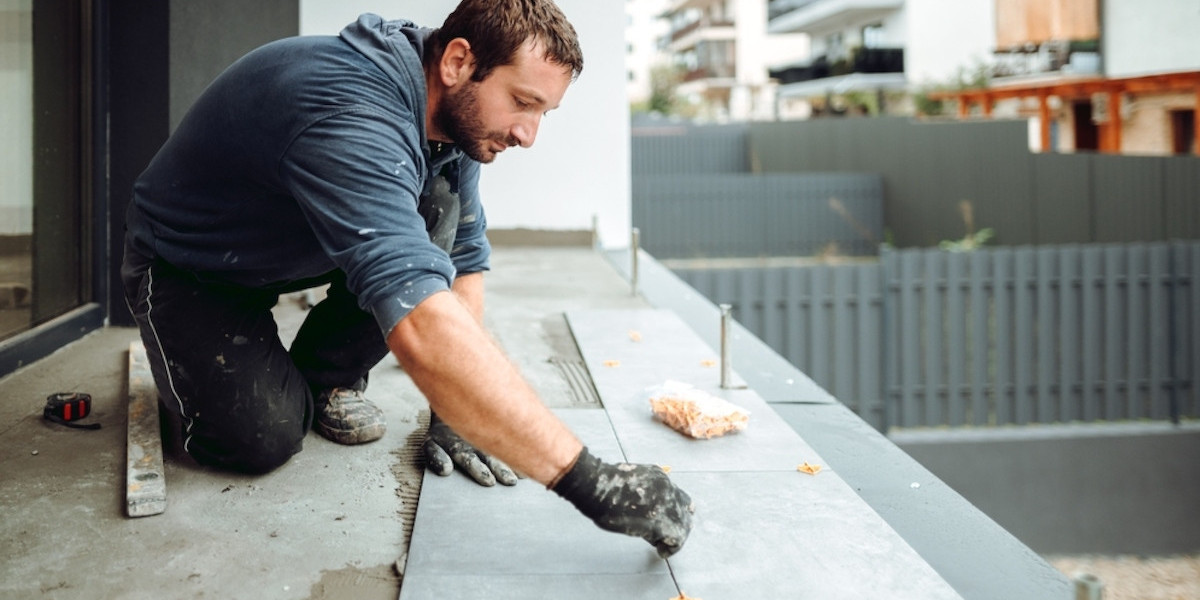
One of the most telling signs of an amateur job is "tenting," where tiles crack and lift at the corners. This is often caused by insufficient mortar coverage. Professionals use the correct-sized notched trowel for the tile and employ a technique called "back-buttering." This involves spreading a thin layer of mortar on the back of each tile immediately before setting it into the mortar bed on the floor. This dual-application ensures there are no air pockets and that the mortar makes full, complete contact with the entire back of the tile. When the tile is set, they give it a slight twist to collapse the mortar ridges and lock it in place, ensuring a bond that exceeds industry standards.
The Importance of Expansion Joints
Tile expands and contracts with temperature changes. In a climate like Lakewood's, with hot summers and cold winters, this movement is significant. If tile is installed in a continuous sheet without breaks, it has nowhere to go, and the pressure will cause it to pop or crack.
This is where expansion joints come in. These are continuous gaps, filled with a flexible silicone caulk instead of rigid grout, that allow the tile field to breathe. They are placed at the perimeter of the room, where the tile meets other surfaces like a bathtub or cabinet, and in large floors, every 20 to 25 feet in each direction. A professional installer knows exactly where these joints are needed to manage this natural movement.
The Final Defense: Grouting and Sealing
The final steps are what protect the installation from moisture and wear, preserving its beauty and function for the long haul.
Proper Grout Mixing and Application
Grout is not just a filler; it’s a key component of the system. Mixing grout to the correct consistency is critical. Too much water weakens it, making it prone to cracking and staining. A pro mixes it to a thick, peanut-butter-like consistency that holds its shape.
They then force the grout deep into the joints using a rubber float held at a 45-degree angle, ensuring no voids are left underneath. After it begins to set, they clean the tile surface with a damp (not wet) sponge. Over-washing at this stage pulls the pigment and cement out of the grout, weakening it.
The Protective Power of Sealing
Once the grout has fully cured (usually after about 72 hours), a quality sealer should be applied. Grout is porous, meaning it will absorb water, oils, and dirt, leading to stains and mildew. A penetrating sealer acts as an invisible shield, repelling liquids and making the surface much easier to clean and maintain. For natural stone tiles, sealing is non-negotiable, as these materials are even more susceptible to staining.
By following these expert protocols, you aren’t just getting a new tile surface. You are investing in a floor or wall that will remain beautiful, functional, and problem-free for years to come. It’s a testament to the principle that in tile work, true quality is found not just in what you see, but in the meticulous, unseen work that supports it.