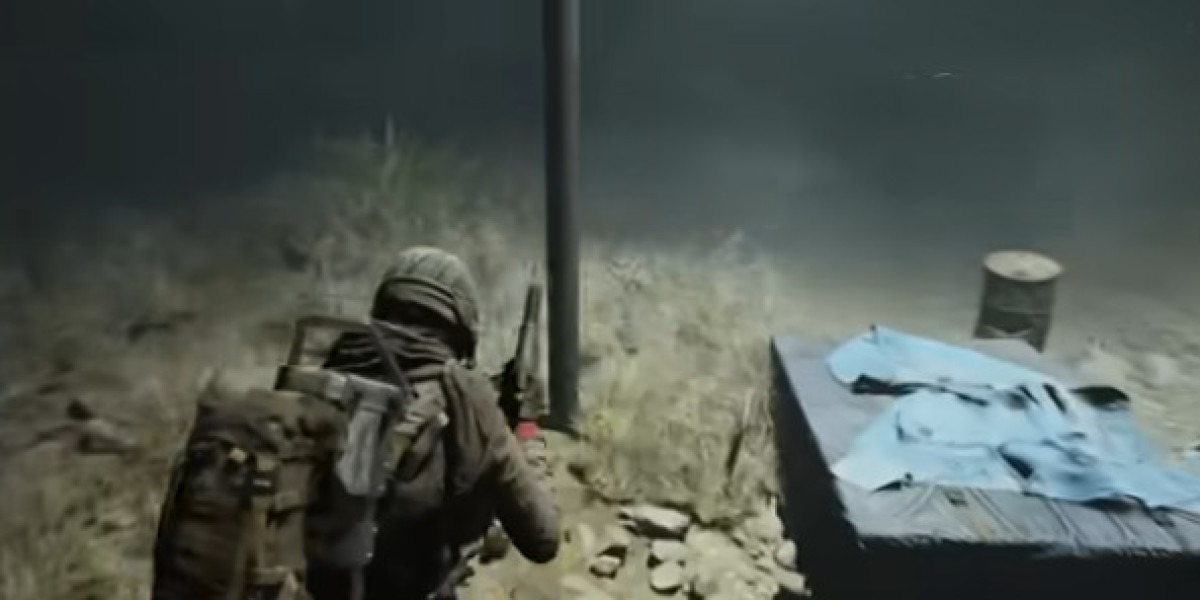
Most players approach the Jump Mine Trial in Arc Raiders like a DPS check. That's the trap. The real challenge is getting an ARC unit exactly where you want it, then making one blast count; the right ARC Raiders Items loadout only helps after the setup is already under control. The Trial's "Jump Mine" wording refers to the Explosive Mine, not a separate item with that exact name. That small naming detail can cost an entire surface run before the actual strategy even begins.
Read the Trial Card Before You Queue
There have been two different versions of this objective: general damage against ARC units and a tougher version that tracks the best result from a single mine. Earlier recorded milestones for the general version were 1,000 damage for one star, 2,000 for two stars, and 3,000 for three stars, though future rotations may change the values. Check the active card every time it returns. The difference decides whether you should play for steady progress or build one high-value detonation.
| Trial Goal | Best Target Style | Main Risk |
|---|---|---|
| General mine damage | Large ground ARC | Low blast contact |
| Single-mine result | Several packed ARC units | Early trigger |
| Solo attempt | Bombardier near cover | No room for recovery |
| Group attempt | Funnel or enclosed room | Broken target formation |
Build the Detonation First
Don't drop the Explosive Mine and hope something walks over it. Pick the detonation point first, then shape the encounter around that location. Flat ground is preferable because slopes, steps, debris, and raised edges can make the trigger position less predictable. You want cover nearby, but not a wall directly between the mine and the target. A wide landing, warehouse entrance, or central room usually gives you the best mix of control and blast space.
Do This, Not That
A Bombardier is the safest starting point for ordinary Trial progress because its body is large and its ground path is easier to read. For the single-mine version, several Shredders inside a confined room can offer a higher ceiling, especially on Stella Montis. From what I've seen, players lose more attempts by placing the mine too early than by choosing the wrong target.
Watch the ARC's movement for a few seconds before placing anything.
Pull the target toward a level area with solid cover.
Reserve the mine until the target or group reaches the intended zone.
Stand near an escape route, not beside the device.
Extract after reaching the required result instead of chasing a slightly better number.
The Scanner Setup Has a Higher Ceiling
Snitch Scanners can help gather airborne ARC units around a prepared interior or restricted landing. Community testing has pointed to a metal landing near the central water-treatment area and a Spaceport warehouse narrowed with Barricades. The exact location matters less than the shape of the fight: arrivals need limited room to spread, while you still need an exit. Activate the scanners, wait for the group to form, then place the mine at the center of their shared path. I could be wrong but, in practice, the first unit often arrives sooner than expected, so patience matters more than a fast throw.
What Usually Ruins a Good Attempt
The most overlooked mistake is treating the retreat as an afterthought. A mine placement that forces you into open ground can turn a strong score into a lost kit, especially when several ARC units are active. Teammates should avoid random gunfire until the group is positioned, since damage pressure can scatter the formation or remove a target before the mine triggers. Solo players gain better timing control, while squads can divide scouting, target guidance, and placement duties. Either way, mark the exit before starting the setup.
My Loadout Rule for This Trial
Bring an Explosive Mine, movement options that help you reach cover, and enough ammunition to draw a Bombardier without killing it too quickly. Don't spend the whole run chasing perfect RNG or a flashy max score. The smart play is repeatable geometry: funnel the ARC, place late, survive the blast, and extract. Once the Trial returns, checking current requirements before spending supplies-and knowing where to buy ARC Raiders Items when your stash is thin-will save more time than improvising after contact begins.